
Burst System
The Burst System is one of the costume upgrading systems.
It allows you to spend more SP to activate the ability in exchange for having the ability enhanced.
To access the Burst system, select the desired costume in the Costume tab, press Upgrade in the bottom right, and pick the Burst icon.
Image Guide
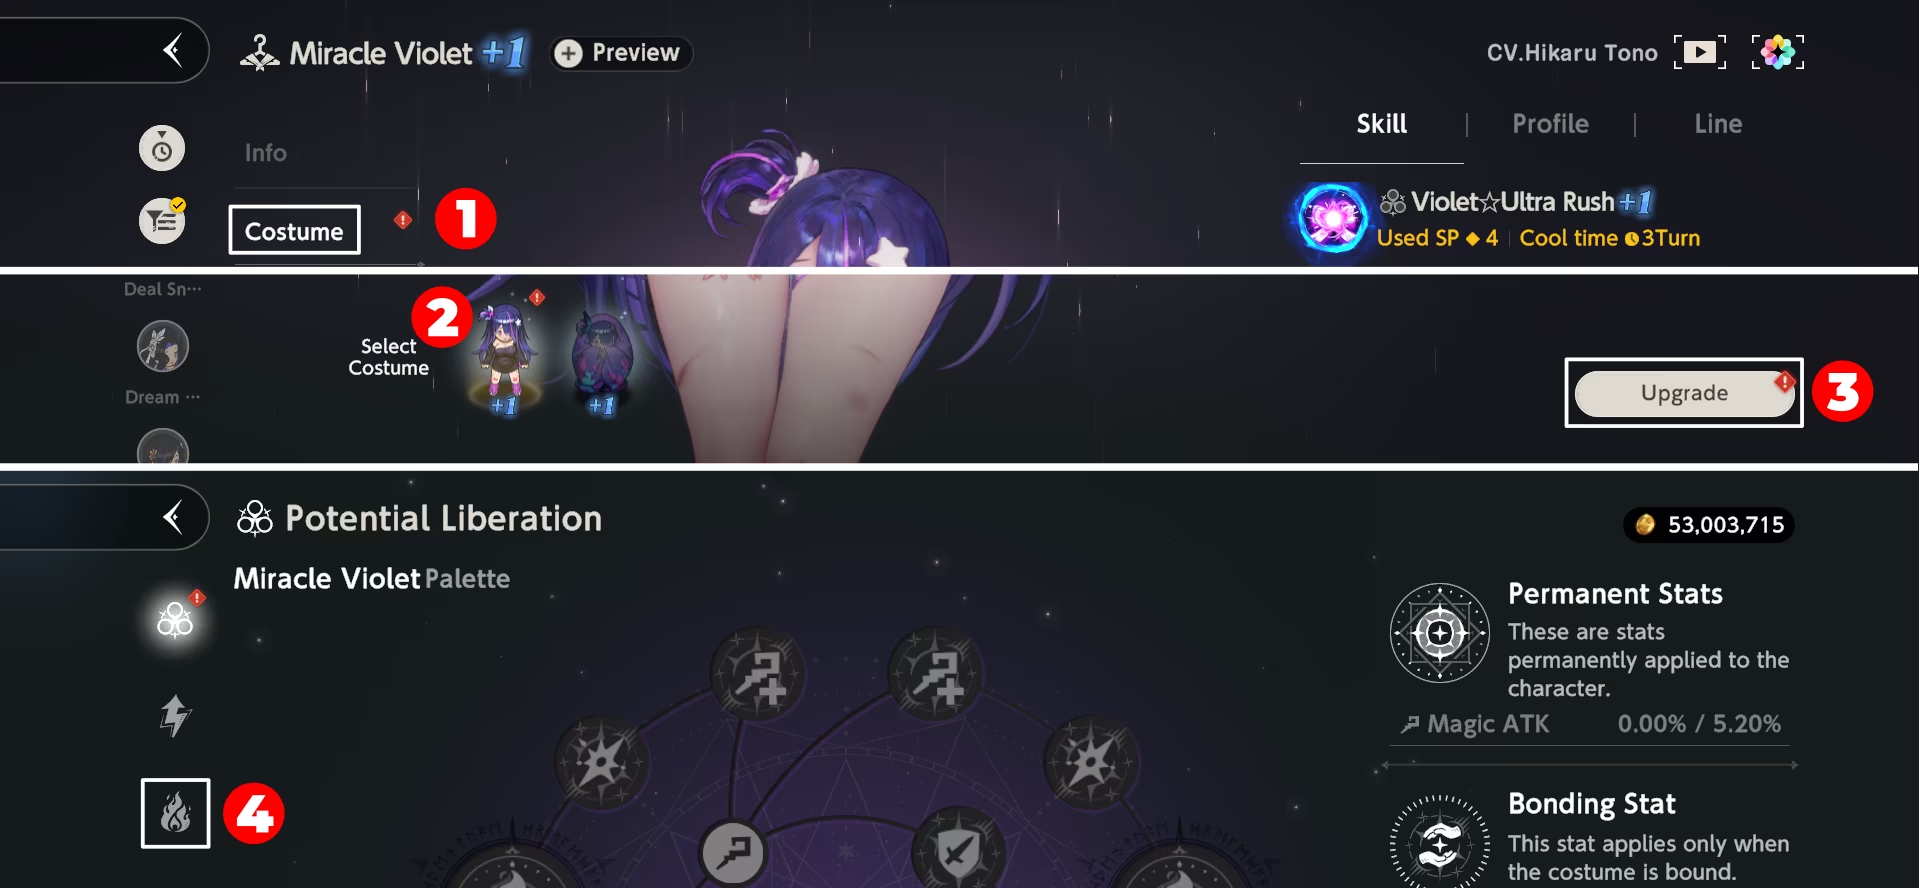
Burst Menu Image
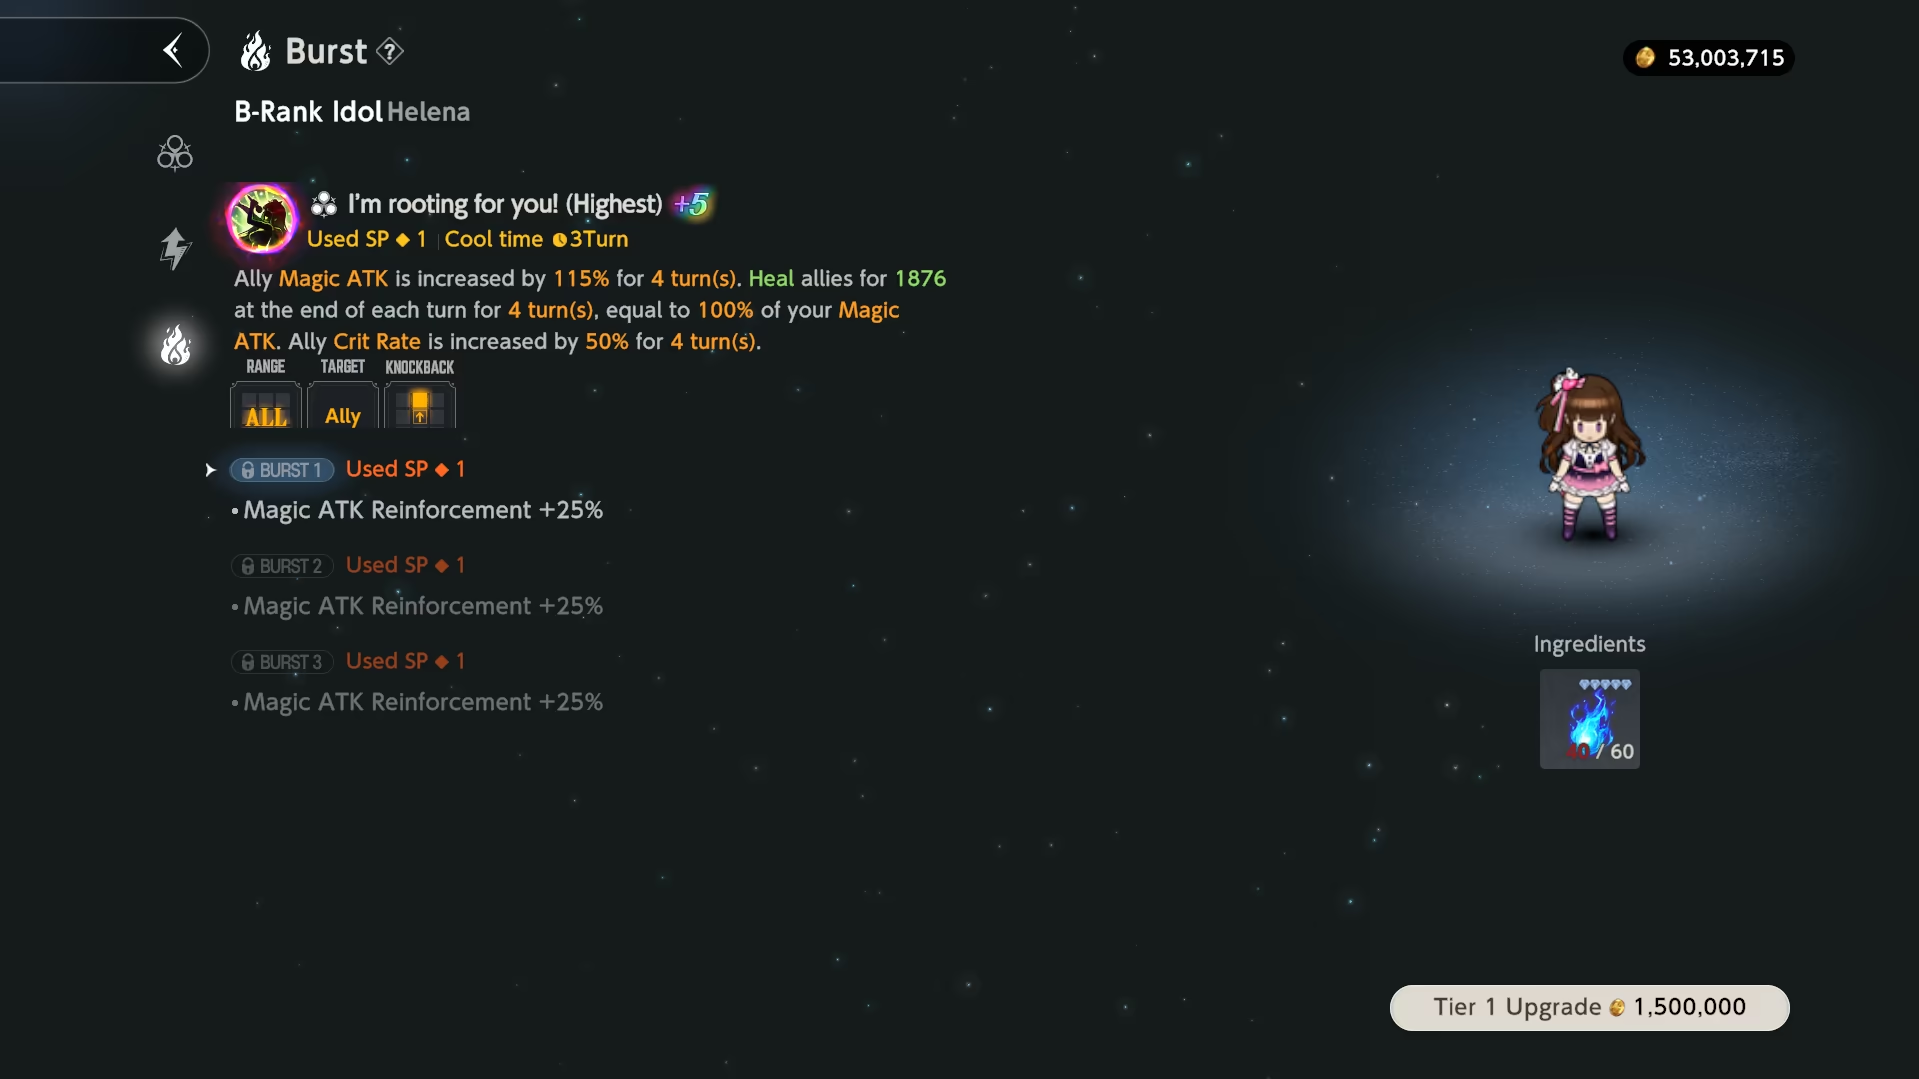
Burst Mechanics
There are a total of 3 Bursts per costume, with each subsequent tier requiring the previous one to be upgraded first.
Effects from all Bursts stack, meaning if you activate Burst 3, you will have all effects from Bursts 1-3. This means that Burst Cost also stacks.
Upgrade Cost
-
5★ Costume:
- Burst 1: 60
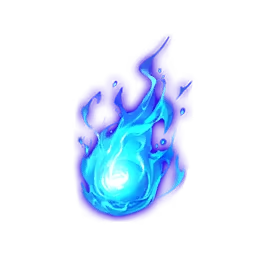 Sparks of Rampage & 1.5M
  Gold
Gold - Burst 2: 60 Sparks of Rampage & 1.5M Gold
- Burst 3: 60 Sparks of Rampage & 1.5M Gold
- Total: 180 Sparks of Rampage & 4.5M Gold
- Burst 1: 60
-
5★ Collaboration Costume:
- Burst 1: 60
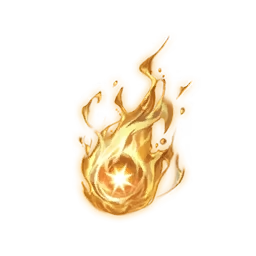 Sparks of the Otherworld & 50K Gold
 - Burst 2: 60 Sparks of the Otherworld & 50K Gold
- Burst 3: 60 Sparks of the Otherworld & 50K Gold
- Total: 180 Sparks of the Otherworld & 150K Gold
- Burst 1: 60
For each Costume, the SP Cost and Effects are different.
- To see all the Costumes with Burst, check the Miraheze Wiki.
Sparks of Rampage
To upgrade the Bursts, you need the currency called Spark of Rampage. It is obtained from many sources:
- Event Shop: 50 / season — 100 / month
 Golden Thread Shop: 55 / month
 Powder of Hope Shop: 55 / month
- Refinement Remnants Shop: 200 / month
 Mirror Wars Shop: 65 / month
 Guild Shop: 60 / month
 Golden Colosseum Shop: 65 / month
- Taros Tactical Manual: 40 / month
- Total theoretical: 640 / month ~ 3.5 Costumes / month
- Total realistic: 530 ~ 585 / month ~ 2.94 ~ 3.25 Costumes / month
Spark of the Otherworld
Spark of the Otherworld is a Burst material specifically for characters from collaborations.
The cost is the same as for regular Bursts, but, unlike Spark of Rampage, Spark of the Otherworld can be obtained only during limited time (collaboration) and is presented in limited amount, enough to burst all featured collaboration Costumes.
Burst in a Battle
If you upgraded your Burst, you can use that in your battle.
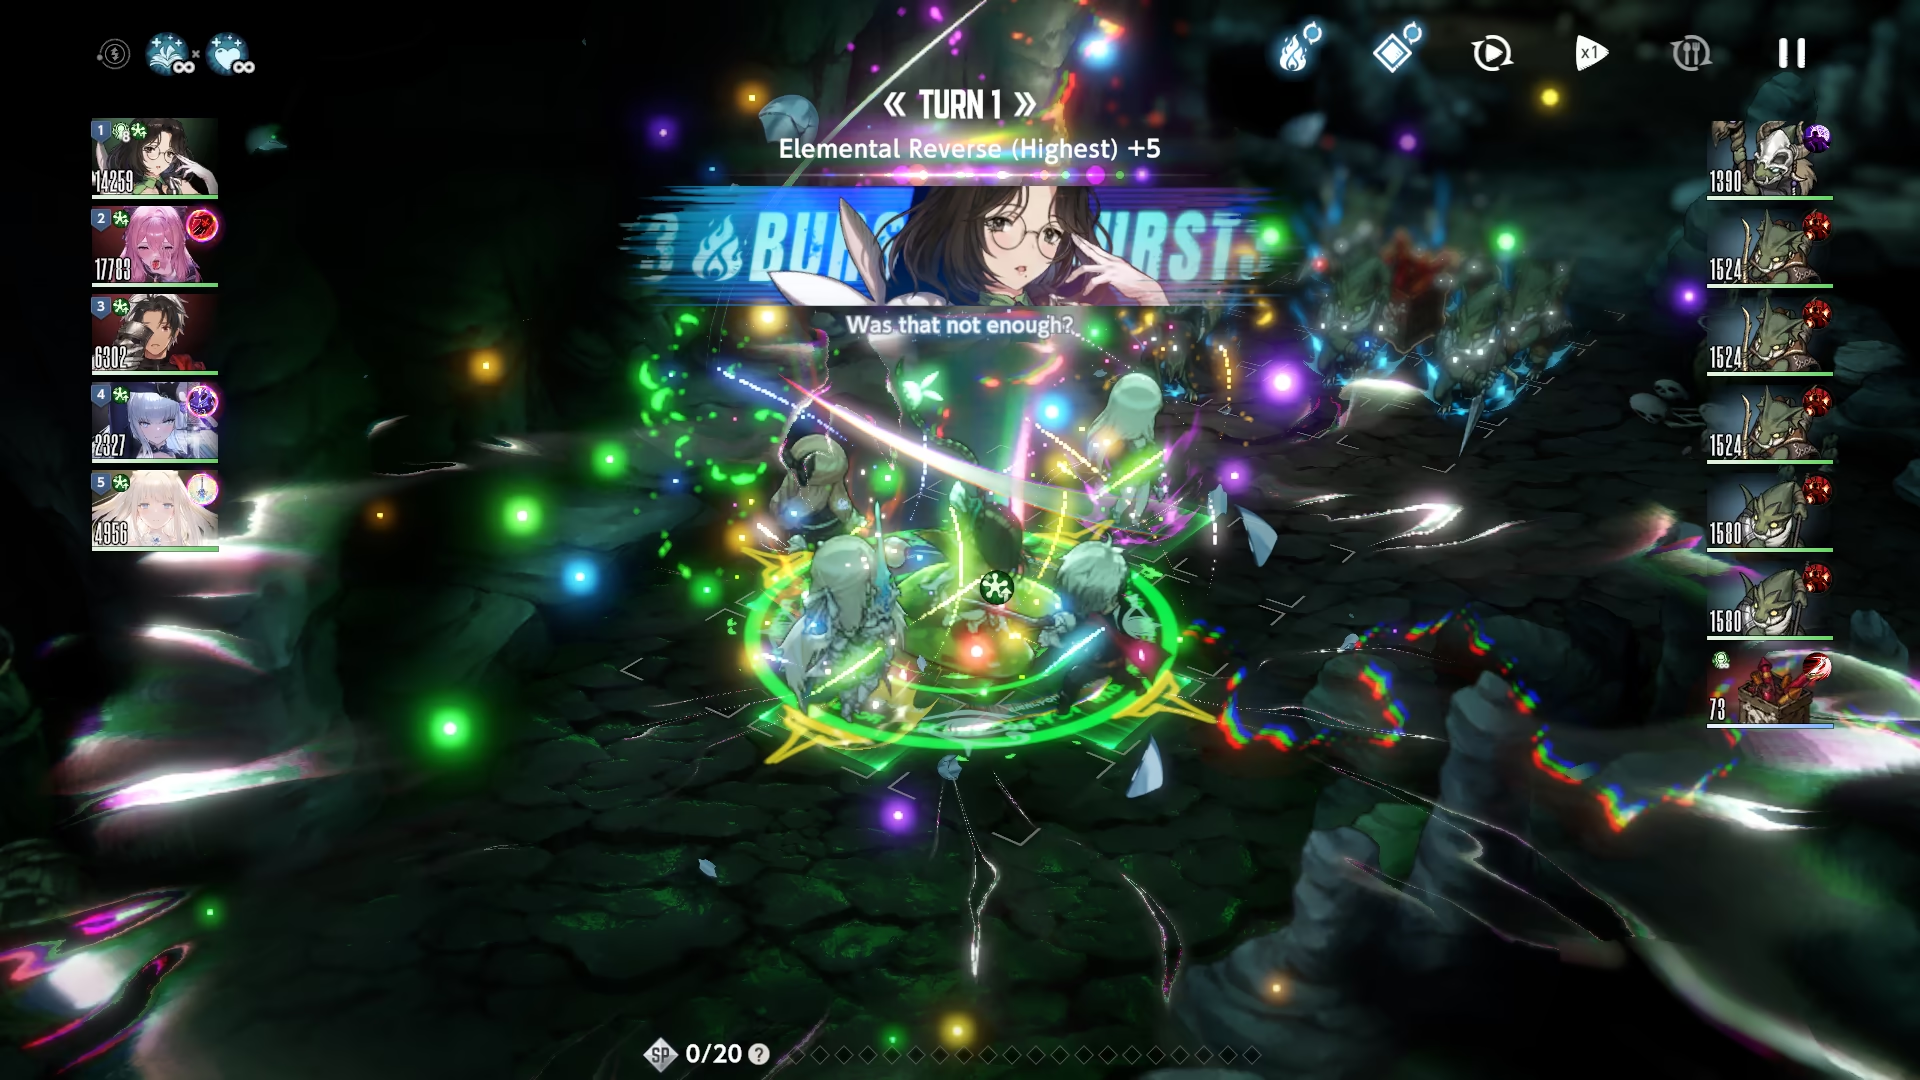
When you choose the skill with upgraded Burst, you can press the little arrow to choose the Burst Tier, after which an animation and screen distortion will be visible for a brief period of time, indicating Burst has been activated.
Image Guide
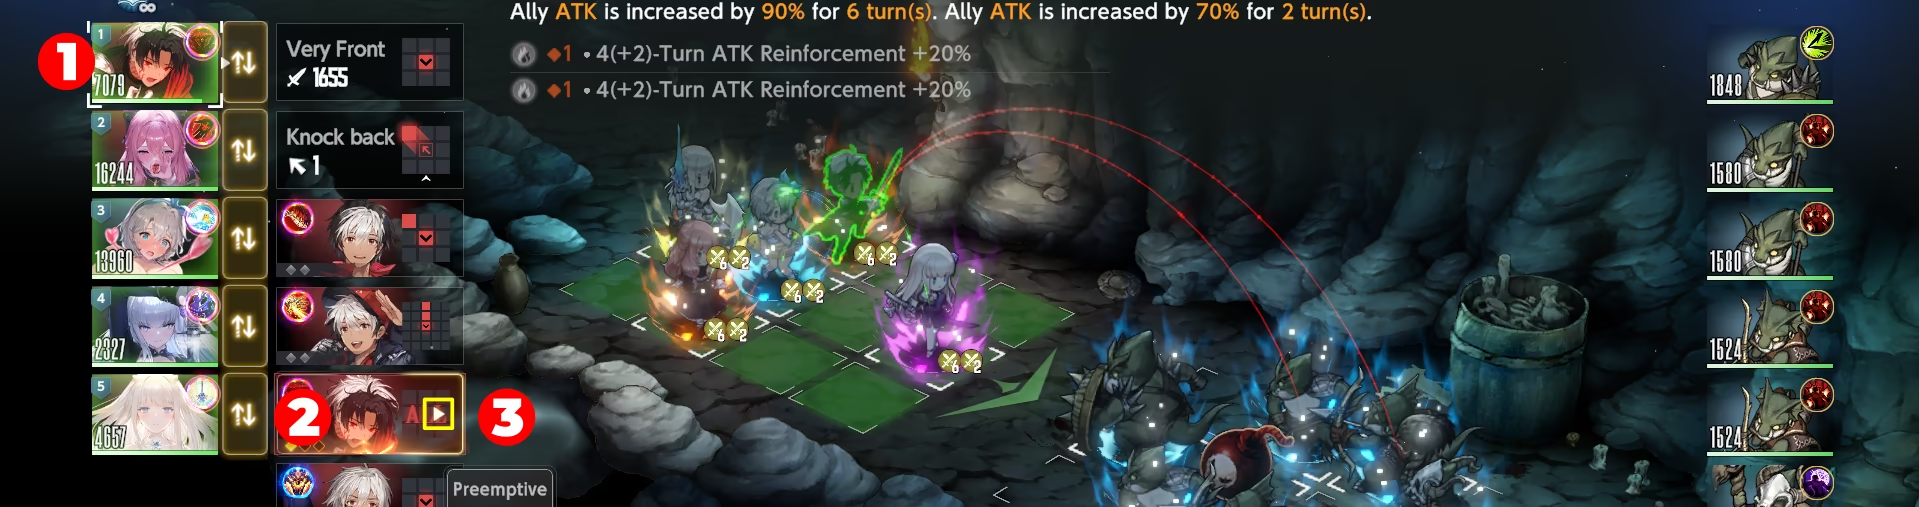
Additionally, active Burst will be displayed in their own Cards.
Image Demonstration
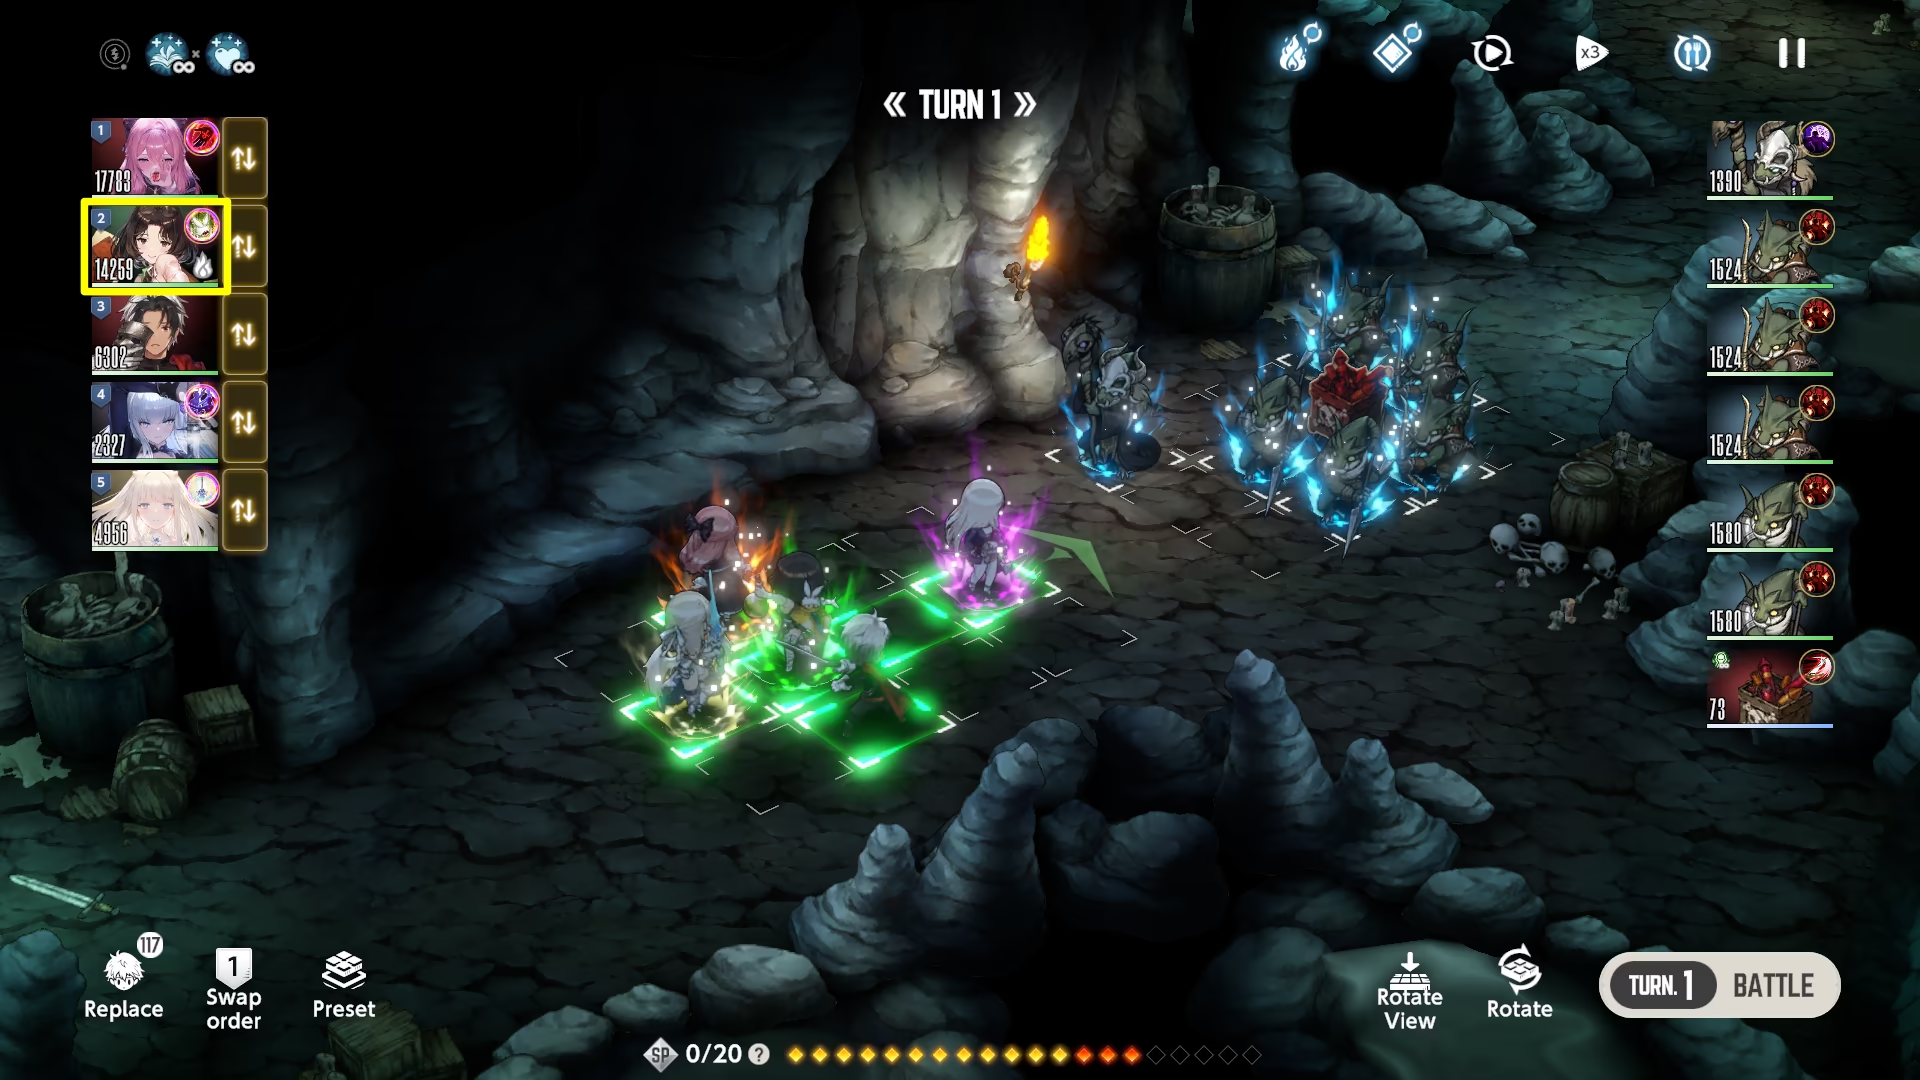
Aside from the things mentioned above, the Skill Card will now have a light blue border and extra SP shown in orange, and burst effects will be highlighted.
Image Demonstration
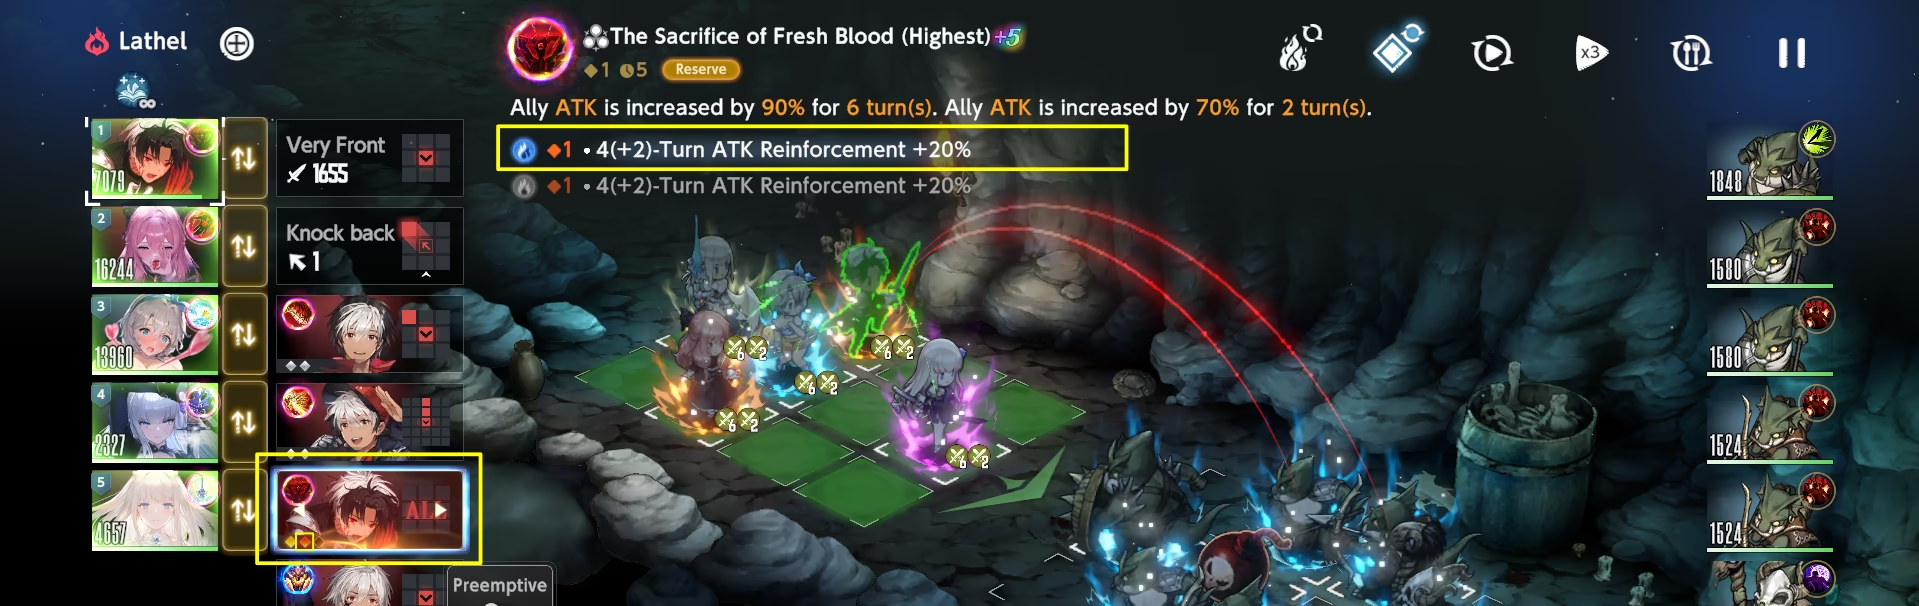
When Burst is used directly, special pop-up appears for a brief moment as well.
Image Demonstration
Auto Burst
In the Battle, you can activate the Auto Burst button, located at the top right of the screen.
Auto Burst Button

When active, Burst will be activated automatically; however, it will take a lower priority compared to Costume activation.
That means if you do not have enough SP to activate Burst and Costume at the same time, Costume will be activated only.
The Auto Battle feature enables Auto Burst automatically.
Unique Game Mode Behaviors
- In Last Night, the maximum possible Burst is applied automatically to the costume whenever the costume was upgraded beforehand.
- In Golden Colosseum, the maximum possible Burst is used based on your SP.
- If Rules grant infinite (∞) SP, Burst is applied similar to Last Night. Otherwise, Burst is applied after all costumes have activated their Abilities.
Burst view in Collection
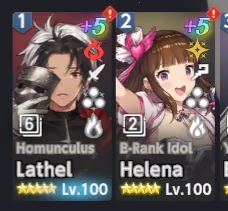
In the collection, Burst is displayed under the  Potential Liberation icon and consists of 3 tongues of flame, corresponding to individual bursts.
Burst Demonstration in Companion Tab

As was said above, each separate tongue of flame represents a separate burst, which means you can visually differentiate the different stages of the burst.
Different Burst progression
Priority Guide
Since Sparks of Rampage is a limited resource, it is important to focus on the costumes that will benefit you more in the long run.
General Advice
- This system is very expensive for a new player. It is better not to heavily invest in it since it is a gold sink.
- Despite it being a gold sink, you really should accumulate Sparks even if you do not plan on spending them. The scarcity of the resource sets high pressure for a player, and missing Sparks is a bad move.
- That doesn't really apply to Powder of Hope / Golden Thread shops, because while you can afford to start buying Sparks from the latter, non-costume purchases in the Powder of Hope shop remain mostly end-game territory.
- That doesn't really apply to
- The whole Burst System is more designed for Fiend Hunter / Guild Raid than it is for the story. Since the introduction of the Burst system, meta trends show that, similar to Potential Liberation, Supports have higher priority over DPS. That does not mean that DPS should be ignored completely, since there are some good effects from it, but you should be wise when investing in property-specific or situational units like DPS.
- Each costume has different Burst Effects which makes the whole priority a bit more subjective and situational, so you do not have to follow the list 1 to 1 and should invest based on your own progress instead.
DISCLAIMER
Anything below represents the author's personal opinion. You may see different opinions compared to this one on different sources. See General Advice admonition to understand the reasoning behind the priority offered.
Costumes within each category are not sorted in priority, but rather alphabetically (character-wise).
When Bursts 2-3 are placed in a higher priority tier than Burst 1, it means Burst 1 provides a small benefit on its own. For these costumes, you should save your Sparks of Rampage and wait to upgrade until you can afford to unlock up to Burst 2 or 3 all at once.
Priority list will also feature Collaboration Costumes priority, but since those use Spark of Otherworld, their bursts are displayed in magenta color, while regular Bursts are displayed in yellow.
- Adventurer of the Unknown Diana Bursts 1-3
- B-Rank Idol Helena Bursts 1-3
- Homunculus Lathel Burst 1
- Onsen Manager Liberta Bursts 1-3
- Medical Club Teresse Burst 3
- Heavenly Guardian Successor Glacia Bursts 1-3
- Sunny Inn Hand Helena Bursts 1-2
- Eternal Chains Kyouka Uzen Burst 1
- Homunculus Lathel Burst 2-3
- Miracle Marine Mamonir Bursts 1-3
- New Hire Seir Bursts 1-2
- Medical Club Teresse Bursts 1-2
- Fire Graffiti Anastasia Burst 3
- The Fallen Angelica Burst 1
- Young Lady Blade Burst 1
- Prophetic Dream Darian Burst 1
- Beach Vacation Eclipse Bursts 1
- Piercing Magic Bow Eleaneer Bursts 1-2
- Code Name O Elise Burst 1
- Naive Lady Elise Burst 3
- Sunny Inn Hand Helena Burst 3
- Night of Jealousy Levia Burst 1
- Ocean Vanguard Luvencia Bursts 1
- Beachside Justice Michaela Bursts 1
- New Hire Nebris Bursts 1-2
- Deadeye Nekyndalia Bursts 1-2
- Lord of the Cosmos Ren Yamashiro Burst 1
- Thorn of the Desert Rubia Bursts 1,3
- Reclaimed Destiny Sacred Justia Burst 1
- Magical Violet Palette Burst 1
- Pool Party Scheherazade Bursts 1,3
- Bikini Agent Sylvia Bursts 1,3
- Ame-no-Mitori Tenka Izumo Burst 1
- Starlight Guardian Tyr Bursts 1-2
- DJ Venaka Burst 1
- Frozen Queen Wilhelmina Burst 1
- Comeback Idol Yuri Bursts 1,3
- Fire Graffiti Anastasia Bursts 1-2
- The Fallen Angelica Bursts 2-3
- Savage Warrior Aquila Bursts 1-3
- Young Lady Blade Bursts 2-3
- Tricky Lover Dalvi Bursts 1-3
- Prophetic Dream Darian Bursts 2-3
- Beach Vacation Eclipse Bursts 2-3
- Code Name O Elise Bursts 2-3
- Naive Lady Elise Bursts 1,2
- Eternal Chains Kyouka Uzen Bursts 2-3
- Night of Jealousy Levia Bursts 2-3
- Ocean Vanguard Luvencia Bursts 2-3
- Wild Dog Luvencia Bursts 1-3
- Beachside Justice Michaela Bursts 2-3
- New Hire Nebris Burst 3
- Deadeye Nekyndalia Burst 3
- Faithful Wings Olivier Bursts 1-3
- Magical Violet Palette Bursts 2-3
- Steel Engine Rafina Burst 3
- Lord of the Cosmos Ren Yamashiro Bursts 2-3
- Thorn of the Desert Rubia Burst 2
- Reclaimed Destiny Sacred Justia Bursts 2-3
- Pool Party Scheherazade Burst 2
- The Lapis Witch Scheherazade Burst 1
- New Hire Seir Burst 3
- Bikini Agent Sylvia Burst 2
- Ame-no-Mitori Tenka Izumo Bursts 2-3
- Starlight Guardian Tyr Burst 3
- DJ Venaka Bursts 2-3
- Frozen Queen Wilhelmina Bursts 2-3
- Comeback Idol Yuri Burst 2
- Piercing Magic Bow Eleaneer Burst 3
- Blood Glutton Justia Bursts 1-3
- Pool Party Justia Bursts 1-3
- Steel Engine Rafina Bursts 1-2
- The Lapis Witch Scheherazade Bursts 2-3